Striped Cosmetic Bag: Matching the Stripe Across Three Seams
A striped cosmetic bag is a geometry problem dressed as a decoration. The stripe has a repeat, the panel has a width, and the two only agree at the cut if the layout was planned around the repeat rather than around the panel. Get it right and the pouch looks engineered; get it wrong and the stripe steps by eight millimetres at the side seam, which is the first thing anyone notices and the last thing anyone can fix after cutting.
This guide covers why a stripe on a pouch is normally woven rather than printed, the three places where it can break, how the repeat interacts with panel yield, and the five figures that make a striped specification reproducible.
Why a Striped Cosmetic Bag Is Usually Woven
A stripe can be printed onto cloth or woven into it, and the two are different products rather than two methods of getting the same look. Woven stripes are made by the loom, which means the repeat is fixed by the warp and cannot drift; printed stripes are made by a press, which means the repeat is fixed by a screen or a file and can drift by a millimetre across a roll.
- Woven stripe, warp direction — the stripe runs along the length of the cloth and is created by alternating dyed yarn in the warp. The edges are crisp at any width, the repeat is exact, and the colour is inside the fibre rather than on it.
- Woven stripe, weft direction — the stripe runs across the cloth and is created at the loom by pick changes. It is slower to weave and it constrains the panel layout, because every panel has to be cut at the same position relative to the weft stripe.
- Printed stripe — cheaper for a complex, multi-colour pattern and the only route to a gradient or a photographic repeat. It sits on the surface, and on a pouch that is folded every day the surface is the part that wears first.
- Jacquard — the stripe and a pattern in one weave, with the stripe position controlled by the program. It is the option when the design needs a motif inside the band and only one pass through the loom.
The table compares the routes on the two things that decide a striped pouch: how hard it is to keep aligned, and what the stripe costs in cloth.
| Route | Alignment difficulty | Effect on cloth yield | Where it belongs |
|---|---|---|---|
| Warp stripe | Low, the repeat is fixed by the loom | Minimal, panels cut anywhere along the length | Vertical stripes, borders, a stripe that meets a binding |
| Weft stripe | High, every panel needs the same offset | Significant, a partial repeat is wasted per panel | Horizontal bands across a wide pouch |
| Medium, depends on the press and the roll | Low, but a registration allowance is added | Many colours, gradients, small quantities | |
| Jacquard | Low once the program is set | Moderate, the program fixes the repeat width | A stripe with a motif, or a logo inside the band |
Three Places a Stripe Breaks
On a rectangular pouch the stripe has to survive three transitions, and each one is a different problem with a different fix.
The side seam is where the stripe steps
Two panels joined at a side seam meet stripe against stripe, and the seam allowance consumes a few millimetres of one of them. Unless the pattern is cut with the allowance added outside the stripe, the stripe on the front panel lands beside the stripe on the back panel rather than on it. The fix is in the marker rather than the sewing: draw the seam line on the panel, align the stripe to the seam line, and let the allowance fall where it falls. A factory that aligns to the cut edge instead of the seam line will produce a step on every unit, consistently, and it will look like a design decision.
The base fold eats a stripe
A gusseted base folds the panel under itself, and whatever stripe crosses that fold disappears into the seam. On a pouch with a base depth of 60 mm and a stripe repeat of 20 mm, three stripes vanish at the bottom and reappear on the other side in a different position. Either the base is planned so that a solid band falls across the fold, or the design accepts that the bottom of the pouch is a different pattern from the front. Planning it is free; discovering it after the first sample is not.
The binding and the zip tape are a second stripe
A striped pouch usually has a solid binding at the top edge and a zip tape above it, and those two solids become part of the stripe pattern whether the design intended it or not. If the binding is a stock colour it will be a shade off the stripe it sits beside, and that mismatch is visible at a glance on a product whose whole appeal is order. Cutting the binding from the same lot as the shell, or specifying a stripe in the webbing used for the pull tab, keeps the pattern coherent. This is where a plant that dyes and weaves in one place has an advantage over an assembler buying trim by the roll.
Cut one panel, fold it, and look at the seam line
Before any pouch is sewn, take one cut panel, fold it along the intended seam line and hold it against a second panel folded the same way. If the stripes meet at the fold, the marker is right. This takes two minutes and catches the error that otherwise appears on every unit in the run, because the marker is copied rather than reconsidered for each pouch.
Five Figures for a Striped Specification
A stripe is only reproducible if the repeat and the panel are described together. Five lines do that.
- The repeat and its sequence — the total repeat in millimetres plus the width and colour of each band inside it. A photograph of a stripe is not a specification, because the repeat cannot be measured from it.
- Stripe direction relative to the panel — warp or weft, stated as running along the height or across the width. This decides the marker and therefore the cloth consumption.
- The alignment datum — seam line or cut edge, named. Aligning to the seam line is the correct answer on almost every pouch and it has to be written down.
- What happens at the base fold — which band crosses the fold, or an explicit instruction that the base is a solid colour. Silence here is what produces a bottom that does not match the front.
- Binding, tape and thread colour source — the same lot as the shell, or a stated Pantone reference. On a striped product a mismatched solid is more visible than on a plain one.
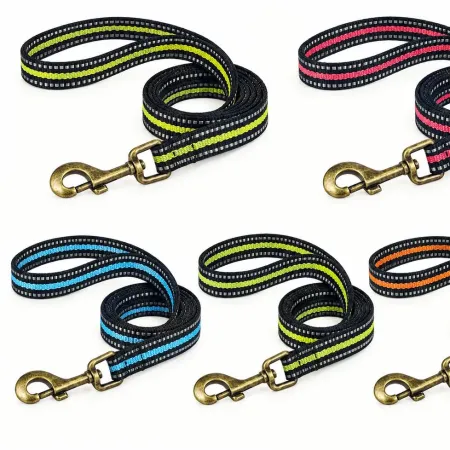
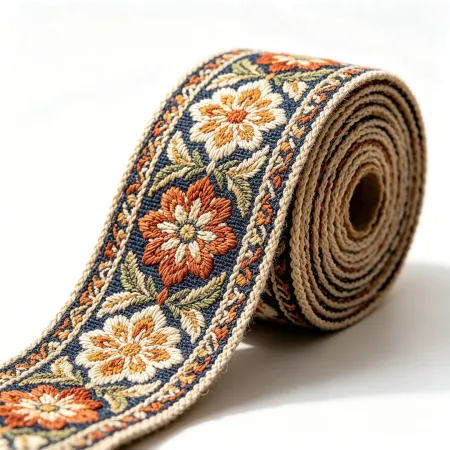
Striped pouches are built inside the custom spec bag programme, and a finished striped reference is the earth-tone striped polyester webbing used on bag straps. Where the stripe is woven into a handle or a pull tab it comes off the three-colour striped webbing range at 2000N+ break strength, and the testing page lists the colourfastness methods applied to each band.
FAQ: Striped Cosmetic Bag Questions
Should the stripe be woven or printed?
Woven for clean edges, exact repeats and colour that does not wear off. Printed for many colours, a gradient or a small quantity. On a pouch that folds daily, a print rubs at the fold long before a woven stripe shows anything.
Why does the stripe not line up at the side seam?
Because the marker was aligned to the cut edge instead of the seam line, and the seam allowance shifted one panel by three to five millimetres. The fix is in the marker, and once it is right every unit is right.
Does a stripe waste cloth?
A warp stripe costs almost nothing extra because panels can be cut anywhere along the length. A weft stripe costs a partial repeat per panel, which on a short panel can be a tenth of the cloth.
Can the stripe continue onto the handle?
Yes, if the handle is woven with the same sequence. It is a strong detail on a pouch whose handle is visible when closed, and it needs the stripe program to be set for both the panel and the webbing.
What is the smallest stripe that reads clearly?
About 3 mm for a woven band at normal viewing distance, and 6 mm if the contrast is low. Below 3 mm the bands start to blend into a single tone, which is a different product from the one in the drawing.
A striped cosmetic bag is decided before anything is sewn. Write the repeat as a sequence of widths, state the direction, align to the seam line rather than the cut edge, decide which band crosses the base fold, and source the binding from the same lot as the shell. Five lines on a marker sheet, and the stripe meets itself at all three seams instead of at two of them.
Why Xinxiangrui for a Striped Cosmetic Bag
On a striped cosmetic bag the stripe, the binding and the handle all have to agree, and here they are made in one plant: the loom sets the stripe, the dye line colours the bands, and the binding is cut from the same lot rather than bought as a stock colour. A change to the repeat is a work order on one site instead of a conversation between a weaver, a dyer and a trim merchant. Webbing runs to 2000N+ break strength. Share your repeat and panel layout with us and we come back with a matched sample.